DIY blog

Personal tech blog focused on cars, 3D printing, and DIY electronics.

3D Printer Enclosure

IMG_2245.jpeg

I found a pretty good enclosure for my 3D printer. Cost of this was a little less than $100.

Main parts:

  • Ikea Sektion Cabinet - It comes with two doors and hinges.

    • D x W x H = 24in x 30in x 20in

  • Enclosure Fan - If not printing ABS, this helps keep the enclosure cool enough to print PLA.

Printed Parts:

The key thing is that this will get you up and running fairly quickly. It’s sturdier than the traditional Ikea Lack tables that everyone seems to be using. There are also holes in the back to allow for cables to come in and out of.

I’m able to maintain temps of 101F/38C, which has helped me print ABS reliably. Another fan is probably needed to achieve adequate ventilation, but i just leave the doors open otherwise. The Fan system has a lot of cool features: fans full on or temperature dependent on. I’ve also added a carbon filter to the fan to filter the fumes from printing ABS.

You can fit this vertically if you do not have any other accessories to the side of the printer. I had my webcam mounted on the x-axis and so ti wouldn’t fit that way.

Selling 3D printed parts - the unexpected

IMG_2348.jpg

busy printing…

Etsy

I started selling my designs on Etsy and it’s been a great learning experience. Just in time manufacturing with 3D printing is really awesome, but assuming the role of manufacturer has had some unexpected issues come about.

Busy Printing

With only one printer, I found that it was always busy printing something! Some of my designs can take up to 8 hours to print, and if an influx of orders come in, I might have to update my shipping times. You can load up your build plate (see picture above), but it also raises the risk of failure. If the print fails, you usually will lose everything. Time is money, and waste is money!

No Time to Tinker

I think a lot of people get into this hobby because they like to tinker and experiment. If your printer is busy printing, you won’t be able to tinker as much.

Solution

More printers

The easiest solution to this is to buy another printer. You can dedicate one for tinkering with, or print orders with the extra printers. The downside to this is that you’ll have to buy another printer. Depending on what printer you have, this might not be financially feasible.

Hold inventory

When you have downtime, print your most popular parts so that you have inventory. I’ve started keeping at least one of each item on hand so that at least I have a leg up on things. For the most popular things, I keep more on hand.

A 3D Scanner Example

Here’s an example of how I went from a 3D scan to a part I could modify

Scanned object

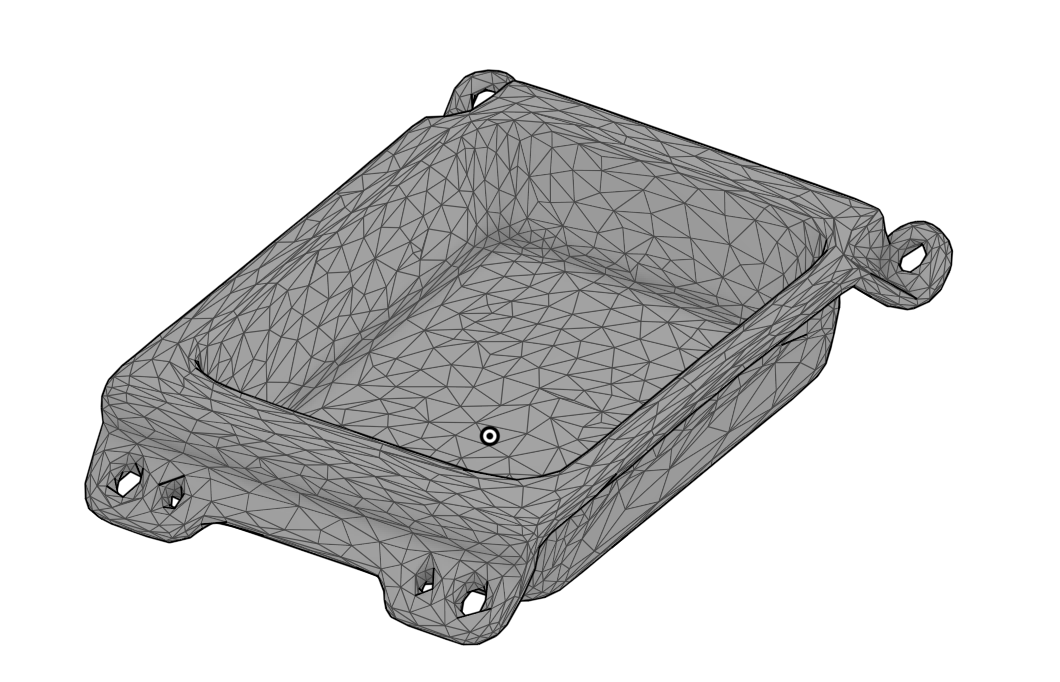
Below is an example of a scanned object without being updated. Looks pretty good right? Yes and no.

Screen Shot 2019-08-15 at 7.19.57 PM.png

If you’re designing a new part based off of this, there are several issues you run into:

  • Surfaces aren’t flat - When recreating this, you’ll want flat surfaces, but the scanned object is so precise you’ll get points +/- 0.05mm!

  • Edges are usually rounded - Usually designers make things rectangular first, then round the edges and corners.

The next screenshot is an example of this. You can see tiny bumps in the surface, and as such will make it hard to recreate.

Screen Shot 2019-08-15 at 7.21.22 PM.png

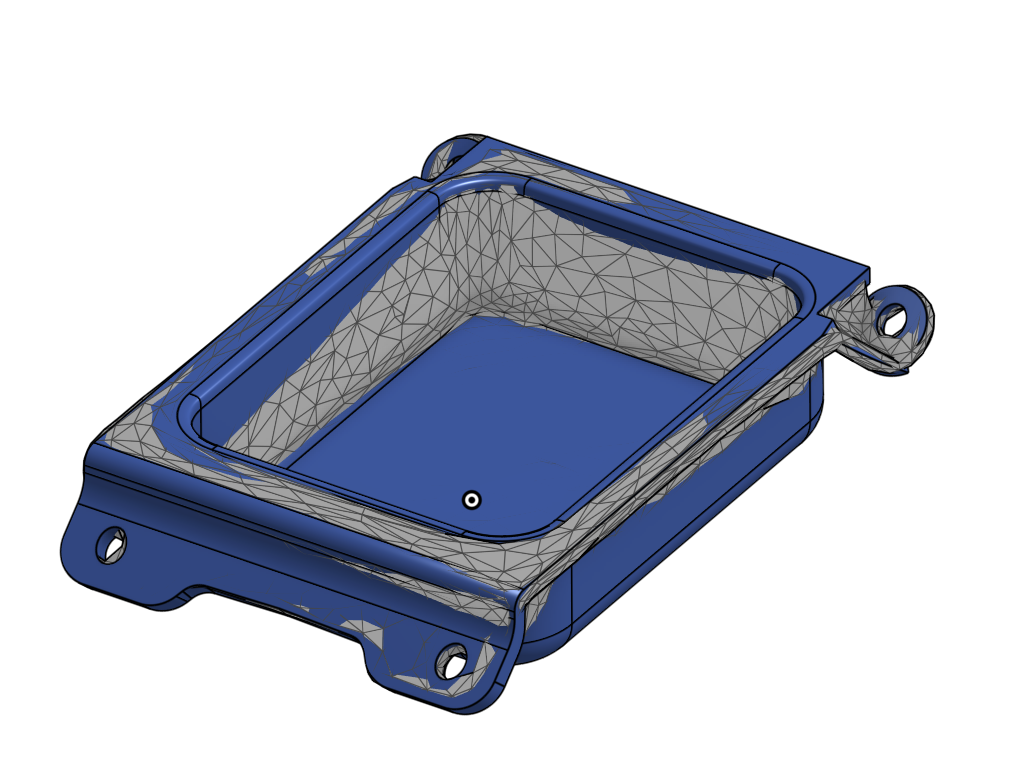
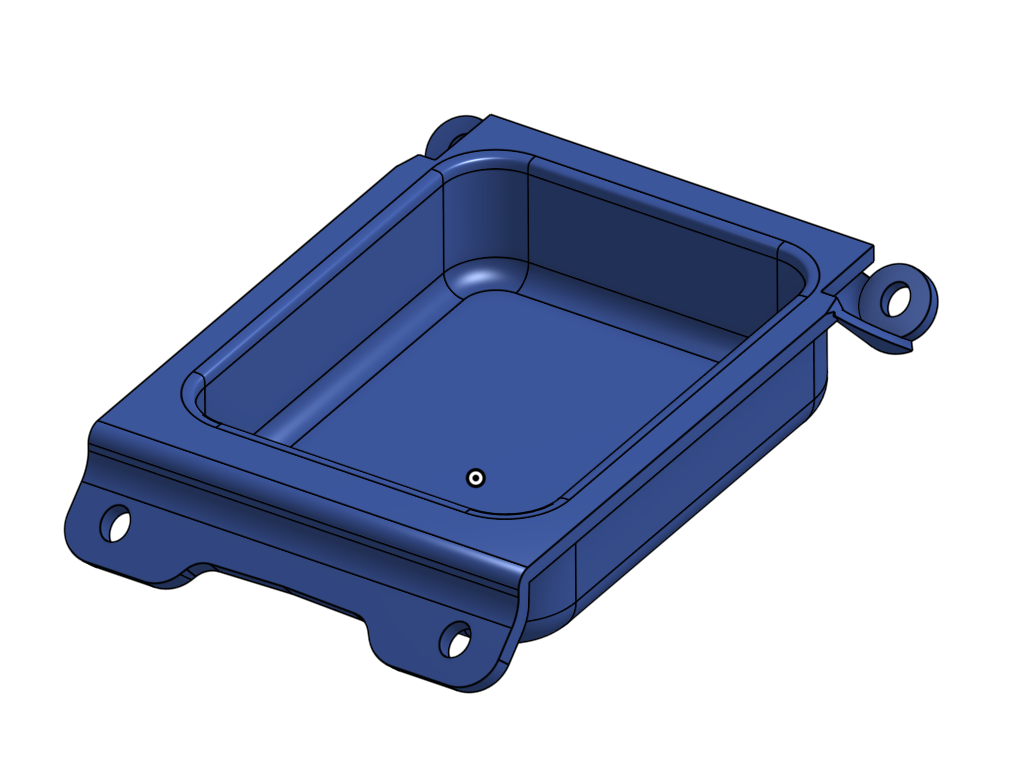
So what I ended up doing was using the 3D scan as a reference and I measured parts to get accurate dimensions. This works well enough, but sometimes it can get you into some weird places. Anyway, here’s some pics of that.

Overall, this took me about 4 hours from start to finish, and I haven’t even printed the part yet. I plan to use this as a base to add modifications to.

3D Scanner - how useful is it?

I’ve been reverse engineering a lot of parts lately and I wanted to see if a 3D scanner would speed up my workflow.

Which 3D Scanner?

I purchased a Shining 3D EinScan-SE Scanner. It’s an entry level scanner, and all the reviews said as such. In particular, one review was very detailed and informative, you should check it out.

I purchased my scanner from Amazon, and it arrived promptly.

Software

In my workflow, I use several different programs to get a scanned object to something I can use and modify. The important thing to know is that a 3D Scanner creates a mesh or an STL file. There are technical descriptions of both, but at the end of the day, the 3D scanner outputs something that your 3D printer can print and use. If you want to modify the scanned object, for example, by adding or removing a feature, you need to convert it to something like a STEP file or use the scanned file as a reference.

Einscan Scanner software

The bundled software is very quirky and buggy. But, it is useable and once you get the hang of it, it gets the job done. You can scan something many times from many angles, or even use the turntable to automate this. By far my biggest gripe is that you can’t easily delete a scan that you don’t want. In some cases, a scan was not aligned correctly, and if you don’t catch it right away, you can’t fix it. I think you can delete the bad scan file, but it’s not obvious. Anyway, it works, just have to take your time…

Mesh Mixer

The scanned objects that the Einscan software outputs is very detailed. Small objects that are 50mm cubed can be upwards of 50mb, which is huge for a cad program to handle. What I did then was output this to meshmixer and reduce the number of points/surfaces. You have to balance the number of surfaces with the geometry of the shape, otherwise you might end up smoothing out surfaces that you need. Usually, if i could get the output down to 10mb or less, things went ok.

FreeCAD

I then imported the mesh mixer file in freecad and exported the file as a STEP file. This allowed my CAD Program (OnShape) to be able to work with the surfaces of the scan.

How’d it go?

I feel mixed about the 3D scanner. A lot of reviews out there talk about the simplest usecase, which is scanning an object and printing it without modification. This workflow works OK on the Einscan. However, if you want to modify a part, you’re better off using the scan as a reference and recreating the whole thing. Check out this video from OnShape to see how they approach scanned files.

OnShape uses the example of recreating a part from a reference mesh, but the idea is to not copy the exact part. Instead, you should use it to reference the overall shape and update it for your own manufacturing capabilities. Makes sense, but I think a lot of people are hoping for a really easy way to scan and update parts.

OnShape CAD Software - Is it Good?

Back in college, I took a couple of CAD classes. This was before 3D modeling was mainstream, so it was all 2D. And, it was all in AutoCAD. It was great, no complaints, but that was for a 2D world. I needed something new for 3D. I found that there were 4 popular programs that people recommend: TinkerCad, Fusion 360, OnShape, and Solidworks. I eventually ended up with OnShape due to its cost, simplicity, and features.

General

Right off the bat, here’s what I learned about each:

  • TinkerCad - very easy to use, browser based, but hard to make complex shapes

  • Fusion 360 - I couldn’t get this to run on my Mac. Which is a bummer because it’s used by a lot of people.

  • OnShape - New from some of the developers of Solidworks. Browser based.

  • SolidWorks - King of 3D. Packed with any feature you want, however no free trial.

Cost

Breakdown of costs

  • TinkerCad - Free

  • Fusion 360 - Free

  • OnShape - Free for education, pay per month model, moderately expensive.

  • Solidworks - Pay per month, very expensive

Features

I would say that Fusion 360 and Onshape are the same. Both have hobbyists using them, and both user groups seem to be happy with them.

Since I couldn’t install Fusion 360, I went with OnShape, and I think it’s great. It was made from the ground-up as a 3D modeling program, whereas Fusion 360 has a lot of 2D first features.

I really like that OnShape is completely in the browser. No software compatibilities to worry about, it just works.

I’ll probably never be able to make something like this image below, but it’s nice to know that others are.

My new desk setup

Screen Shot 2019-06-04 at 12.11.06 PM.png

I just recently left my job of 11 years in tech and was left without a computer for personal use. After 11 some years at a company, you just kind of live, eat, and breath work so a personal computer gets left behind. So, after finally deciding to leave (which was a tough decision in itself), I was able to procure reuse some old items, and procure some used items to tide me over until I figure out what I really want.

Computer - Mac Pro (Late 2013)

I know, this one is a weird one because it’s old, and coincidentally yesterday Apple announced a new Mac Pro. lol. In any case, I was abele to get one for pretty cheap. Here are the specs:

  • Processor: 3.7 GHz Quad-Core Intel Xeon E5

  • Memory: 12 GB

  • Graphics: AMD FirePro D300 2 GB

Not very powerful. But, I bought some upgrades that hopefully help tide me over for a bit. I thought I wouldn’t be able to upgrade this Mac Pro, but you can actually upgrade most everything except the video card. So, I purchased

  • New CPU - $500 - 12-Core 2.7GHz E5-2697 v2 Processor - This is amazing in itself because it’s a $2000, but you can get one from OWC for $500. Contrary to what they say, the installation looks easy for anyone that’s built their own PC.

  • 64 GB Memory Upgrade - $200 - Got this on eBay. Pretty straight forward.

I wish I could upgrade the video, that’s the weakest link in this system. There are some external GPU (eGPU) options, but they are kind of volatile due to how old this Mac Pro is and Apple seems to not really care about this feature much. http://egpu.io has a ton of info on this.

Here are some benchmarks I did before any of the upgrade:

Screen Shot 2019-06-04 at 12.02.40 PM.png

A comparison score that uses the same CPU i’m going to upgrade to. It has a multi core score of 27483, so almost 2x perf. This puts it up to 2017 performance levels, so yay?

Monitor - LG 27” Ultrafine 5k Display

I love this monitor. It uses a one cable for data and audio, so you get everything you need with just one wire. I had this from before and would use my work laptop on it, and it was so convenient.

The 5K display is amazing and the clarity is unmatched (Apple’s new 6K monitor says otherwise!). Here’s a comparison to the old apple cthunderbolt display when zoomed in. Notice that the LG on the right has less jaggies.

IMG_2687.jpeg

Desk - Autonomous

I have an Autonomous Smart Desk. It works pretty well, but honestly I never use the stand feature anymore. I wanted the option, but could probably have saved $100 or so. The components are nicely made.

Misc items

Monitor stand

I use an Amazon basics dual monitor stand. One arm for the LG 5K display, the other was for my work laptop. I may mount a second monitor, but not 100% sure yet.

Keyboard/Mouse

I’m an Apple Fanboy, and so I have the Apple Magic Keyboard 2 and Magic Mouse. They just work.

That’s about it!

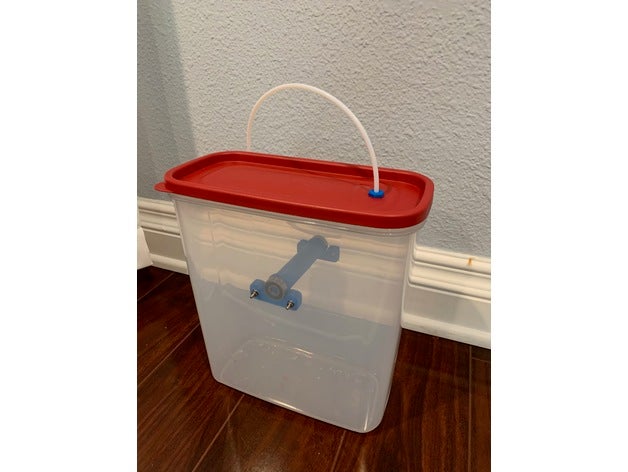
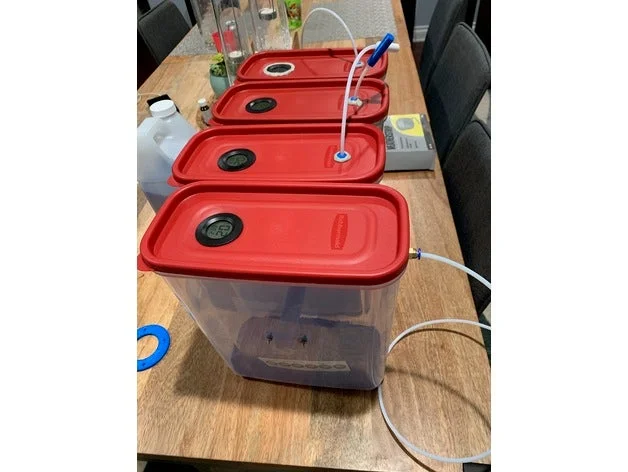
$10 Airtight Filament Storage and Spool Holder (Drybox)

I made a very simple spool holder. It’s been holding up pretty well. After using it for a month, it’s definitely the easiest one to print and use. The best part about this is that you only have to open it up when the filament runs out, otherwise there isn’t a reason to open it up.

Although many people have used this container, it was complicated by the printed parts. I designed a very simple holder for the filament using OnShape

The specific container can be found on amazon via this link.

For the STL dukes and instructions to make one yourself, check it out on thingiverse!

NSX cassette tape phone mount

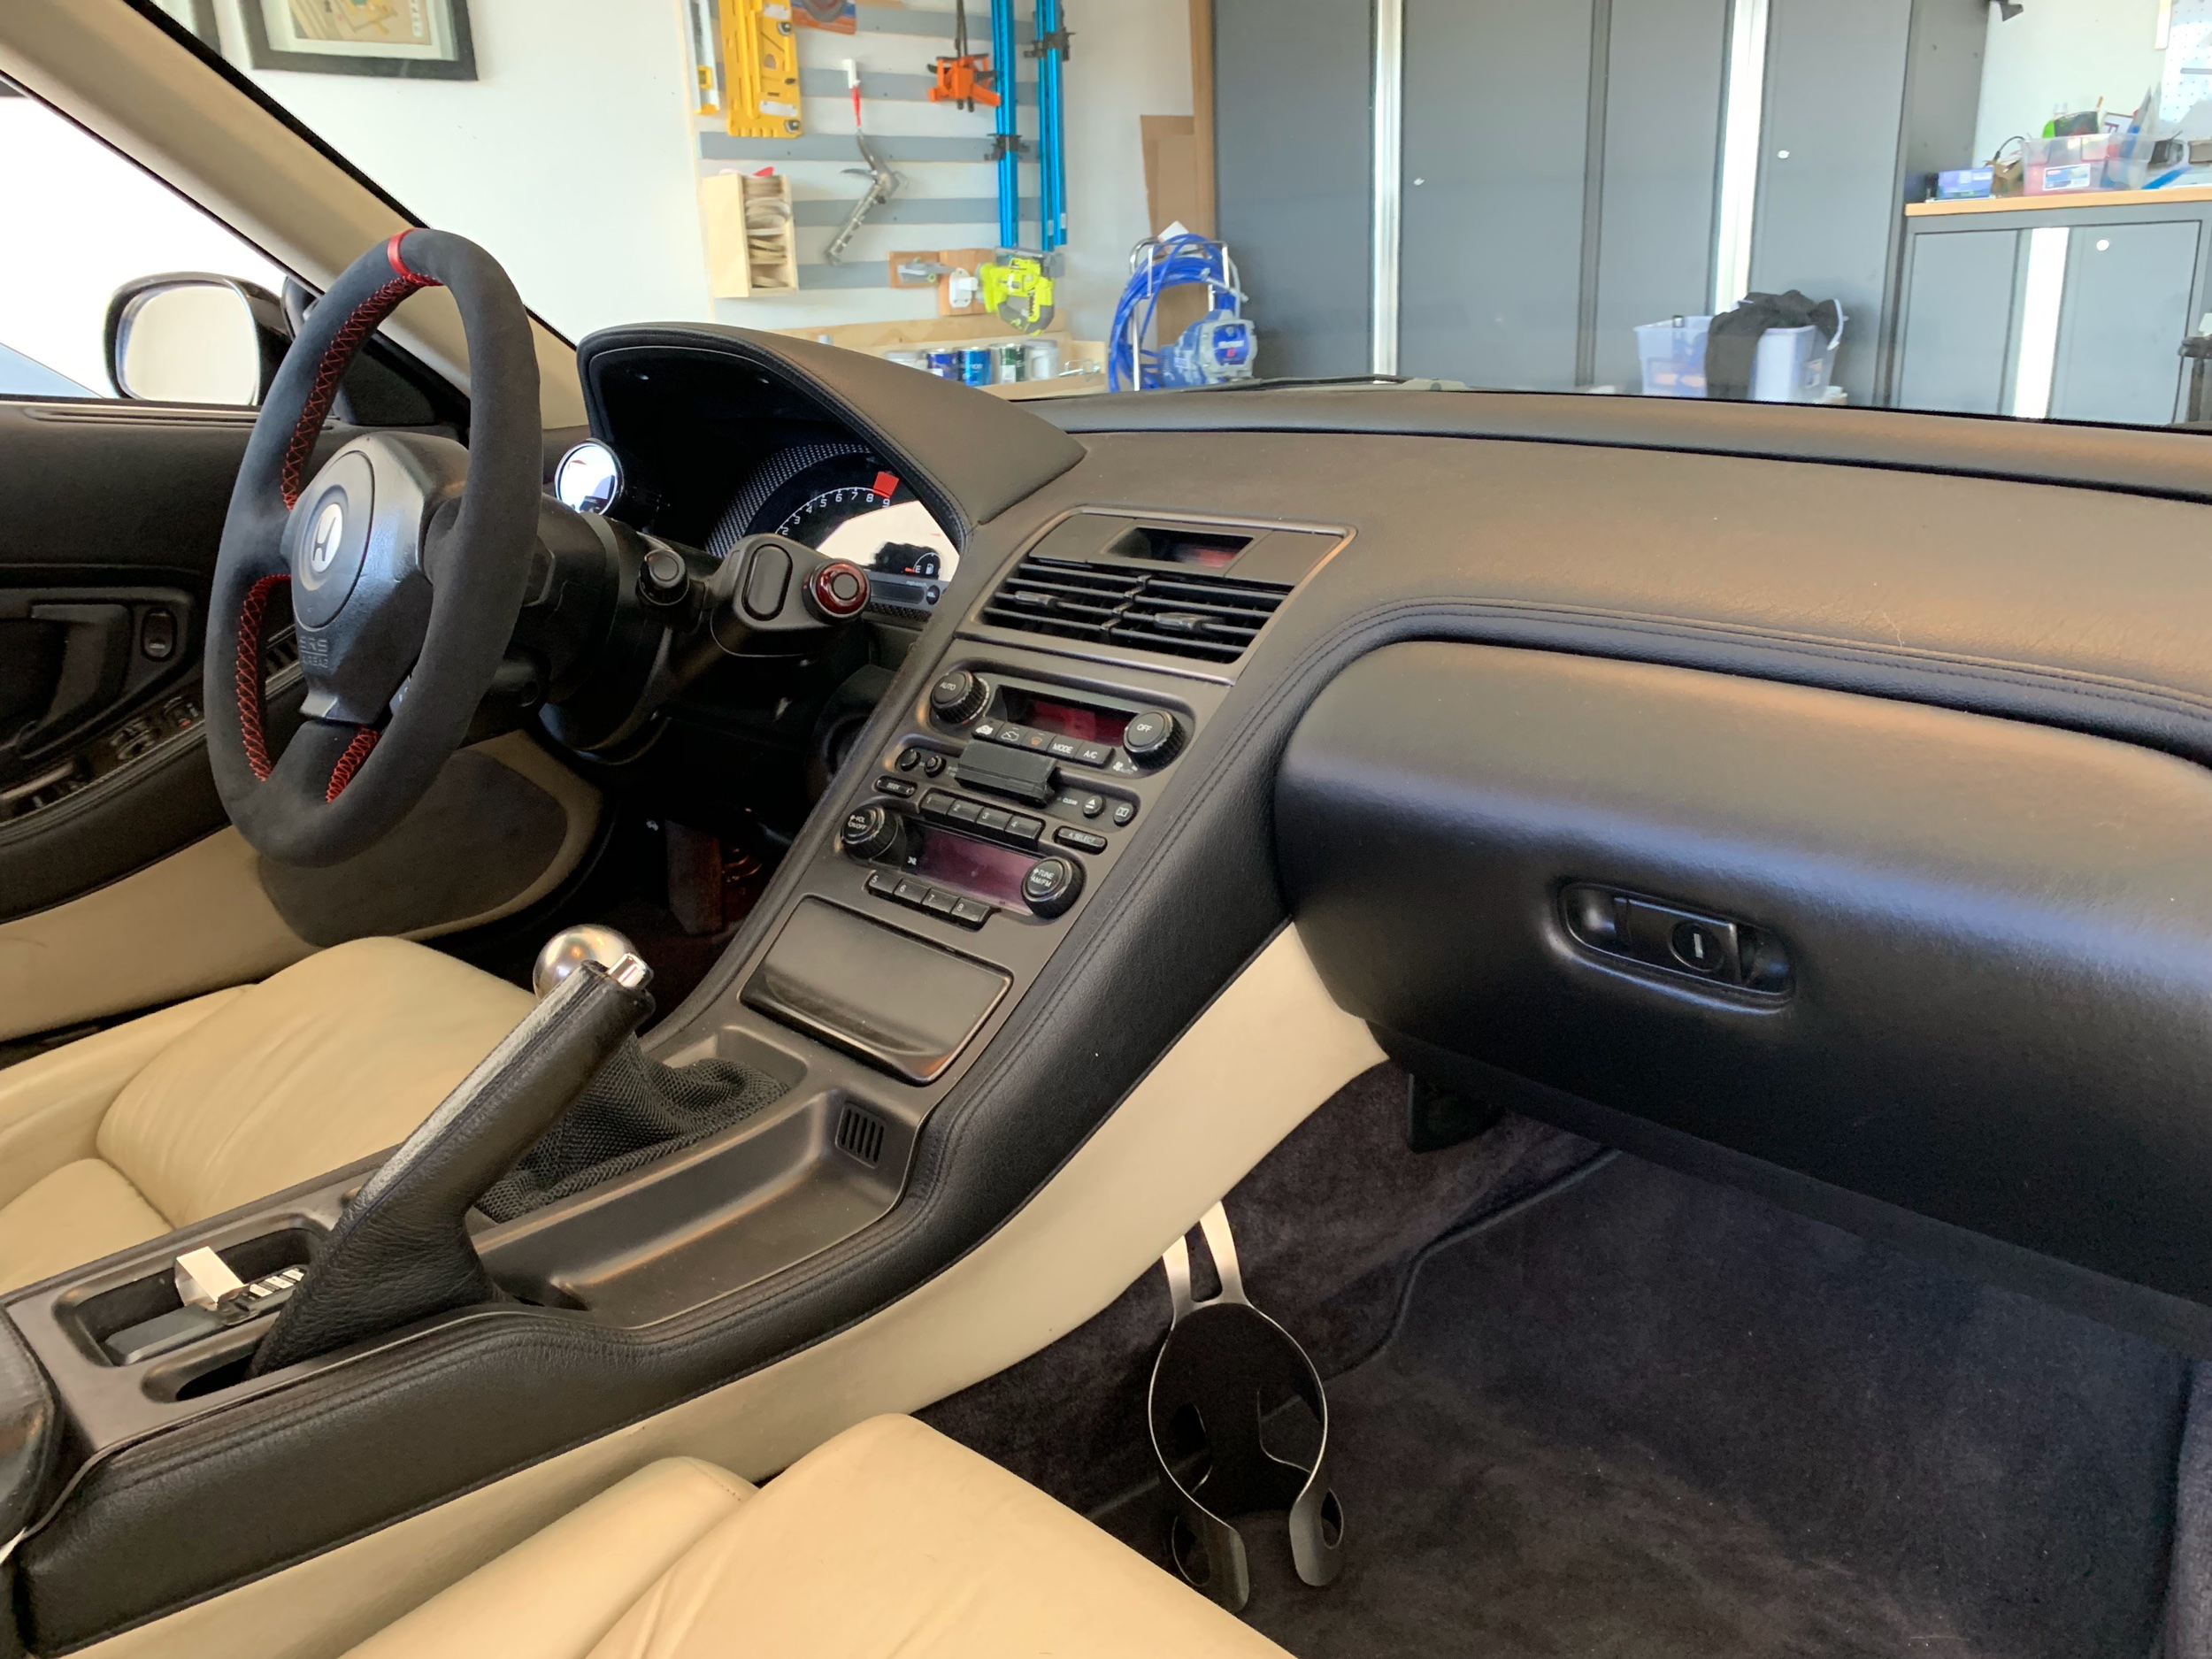
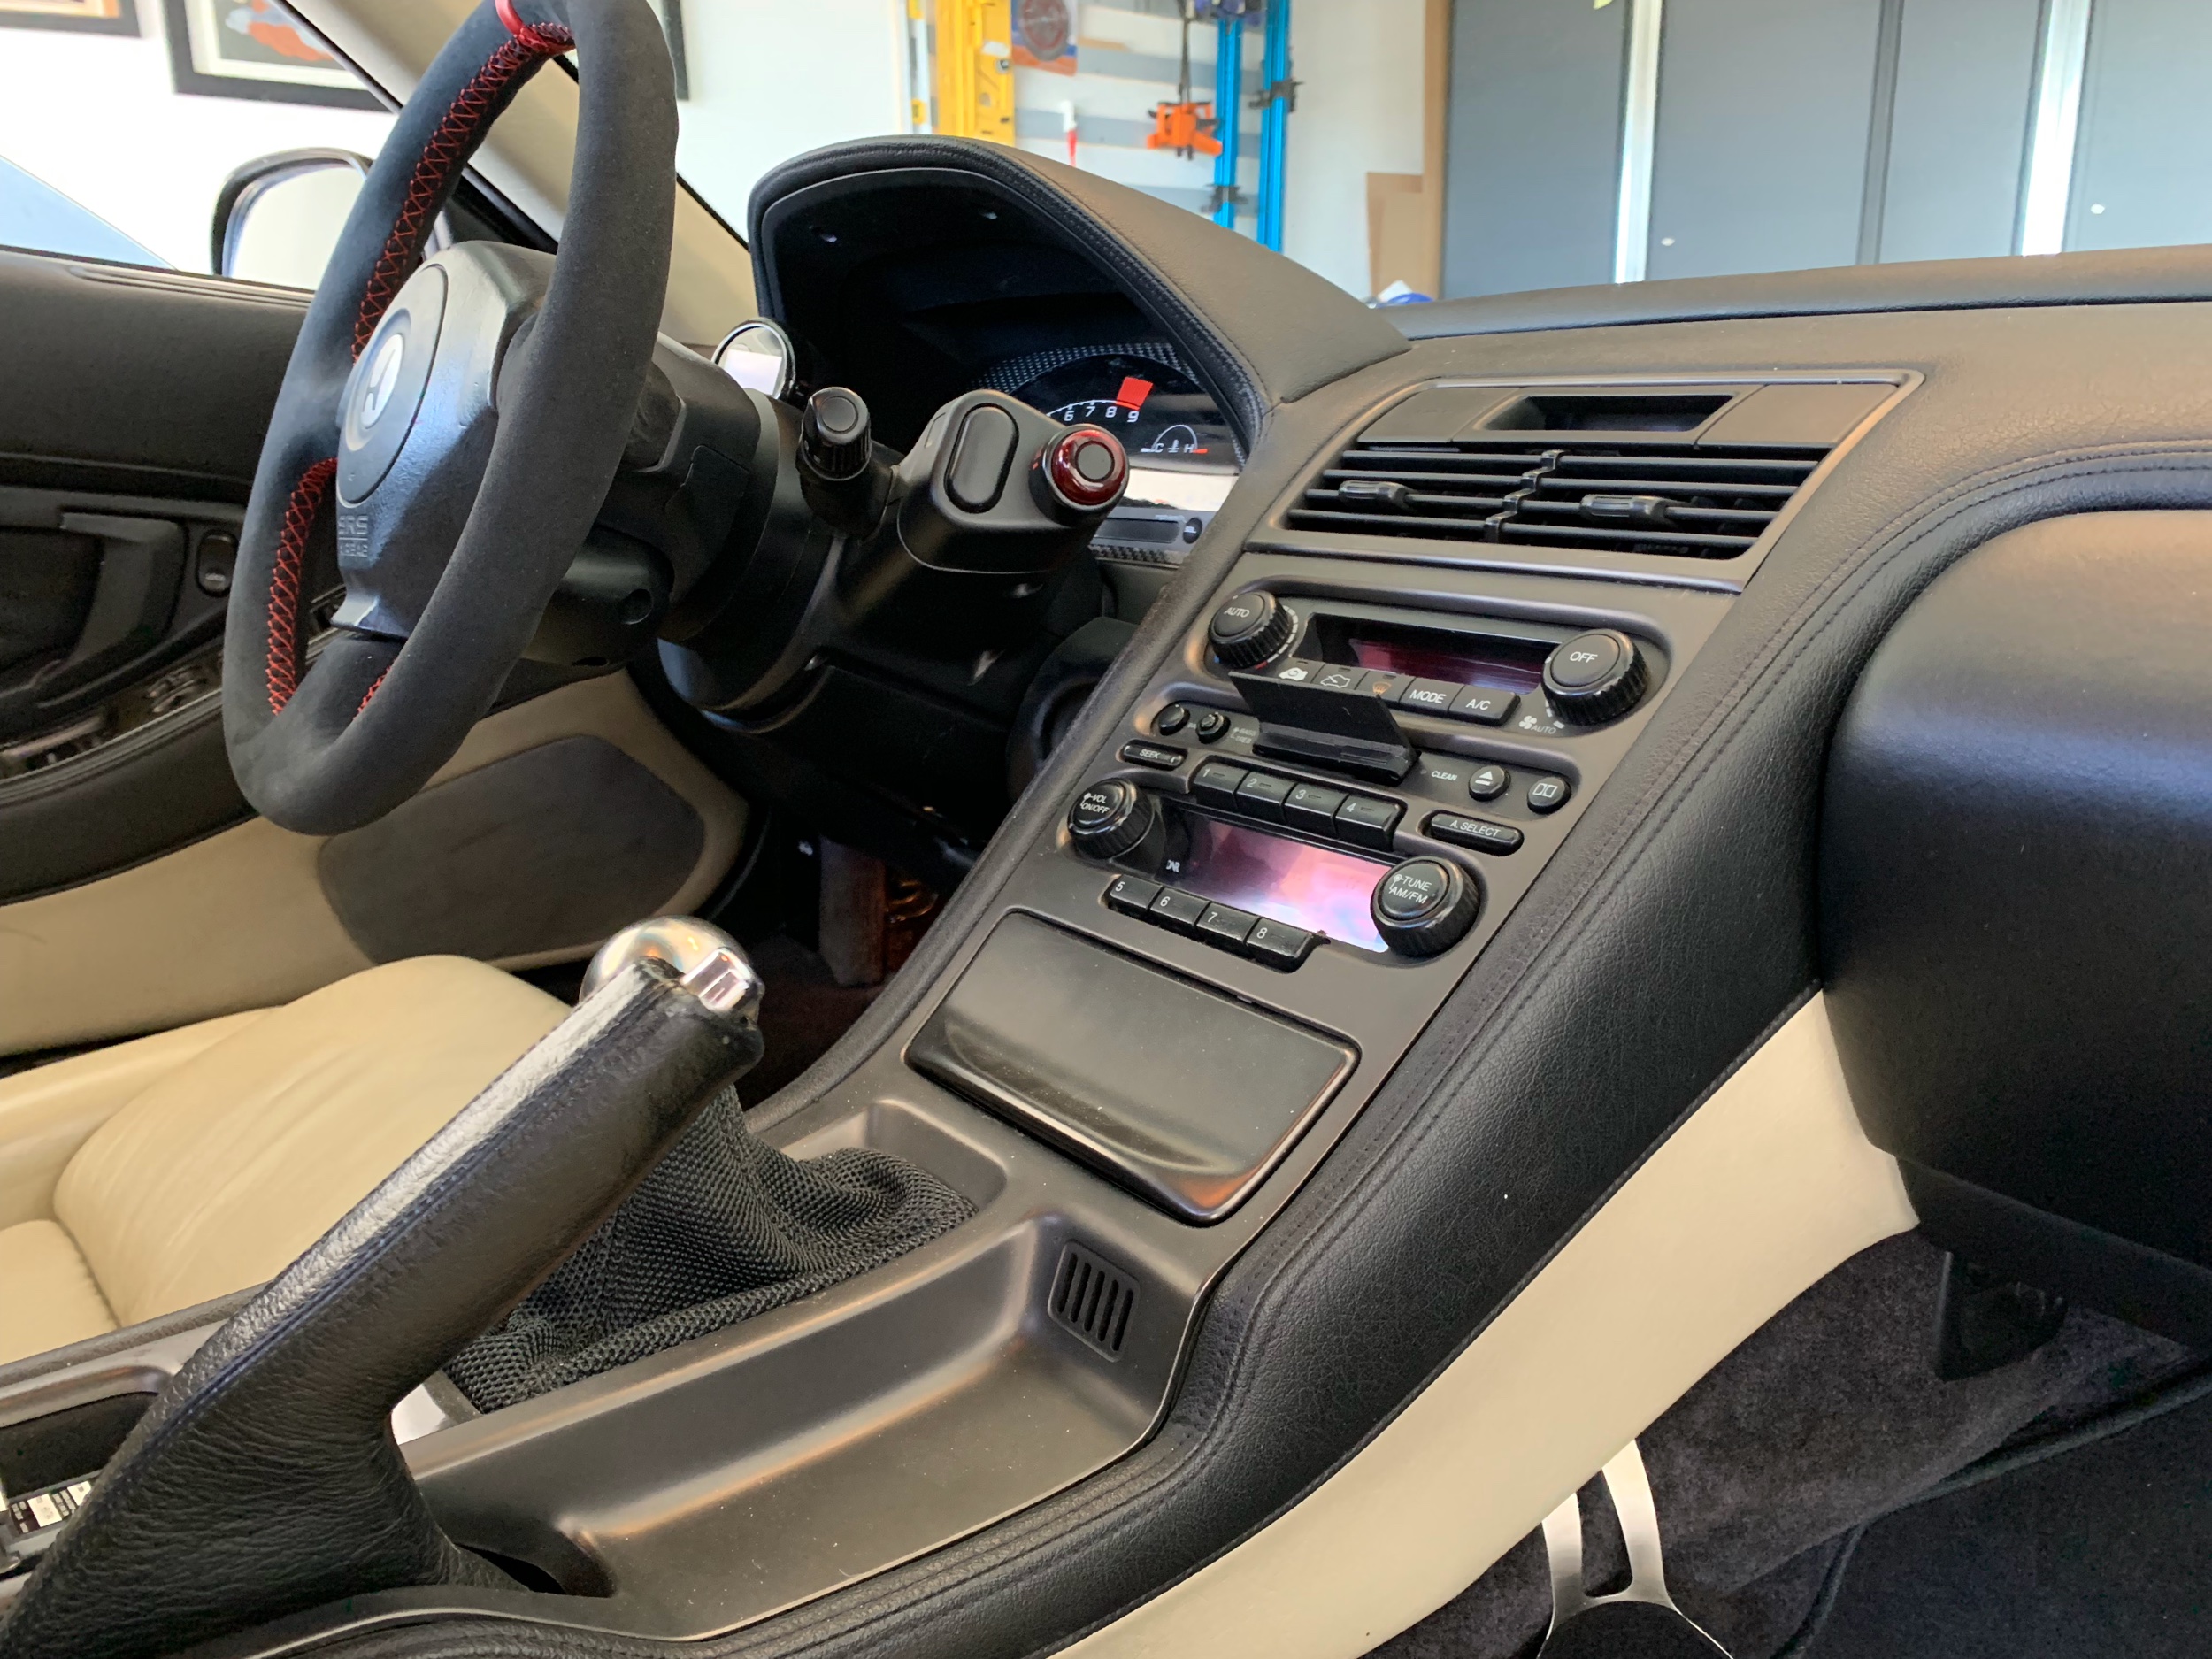
1991 NSX Interior with mount

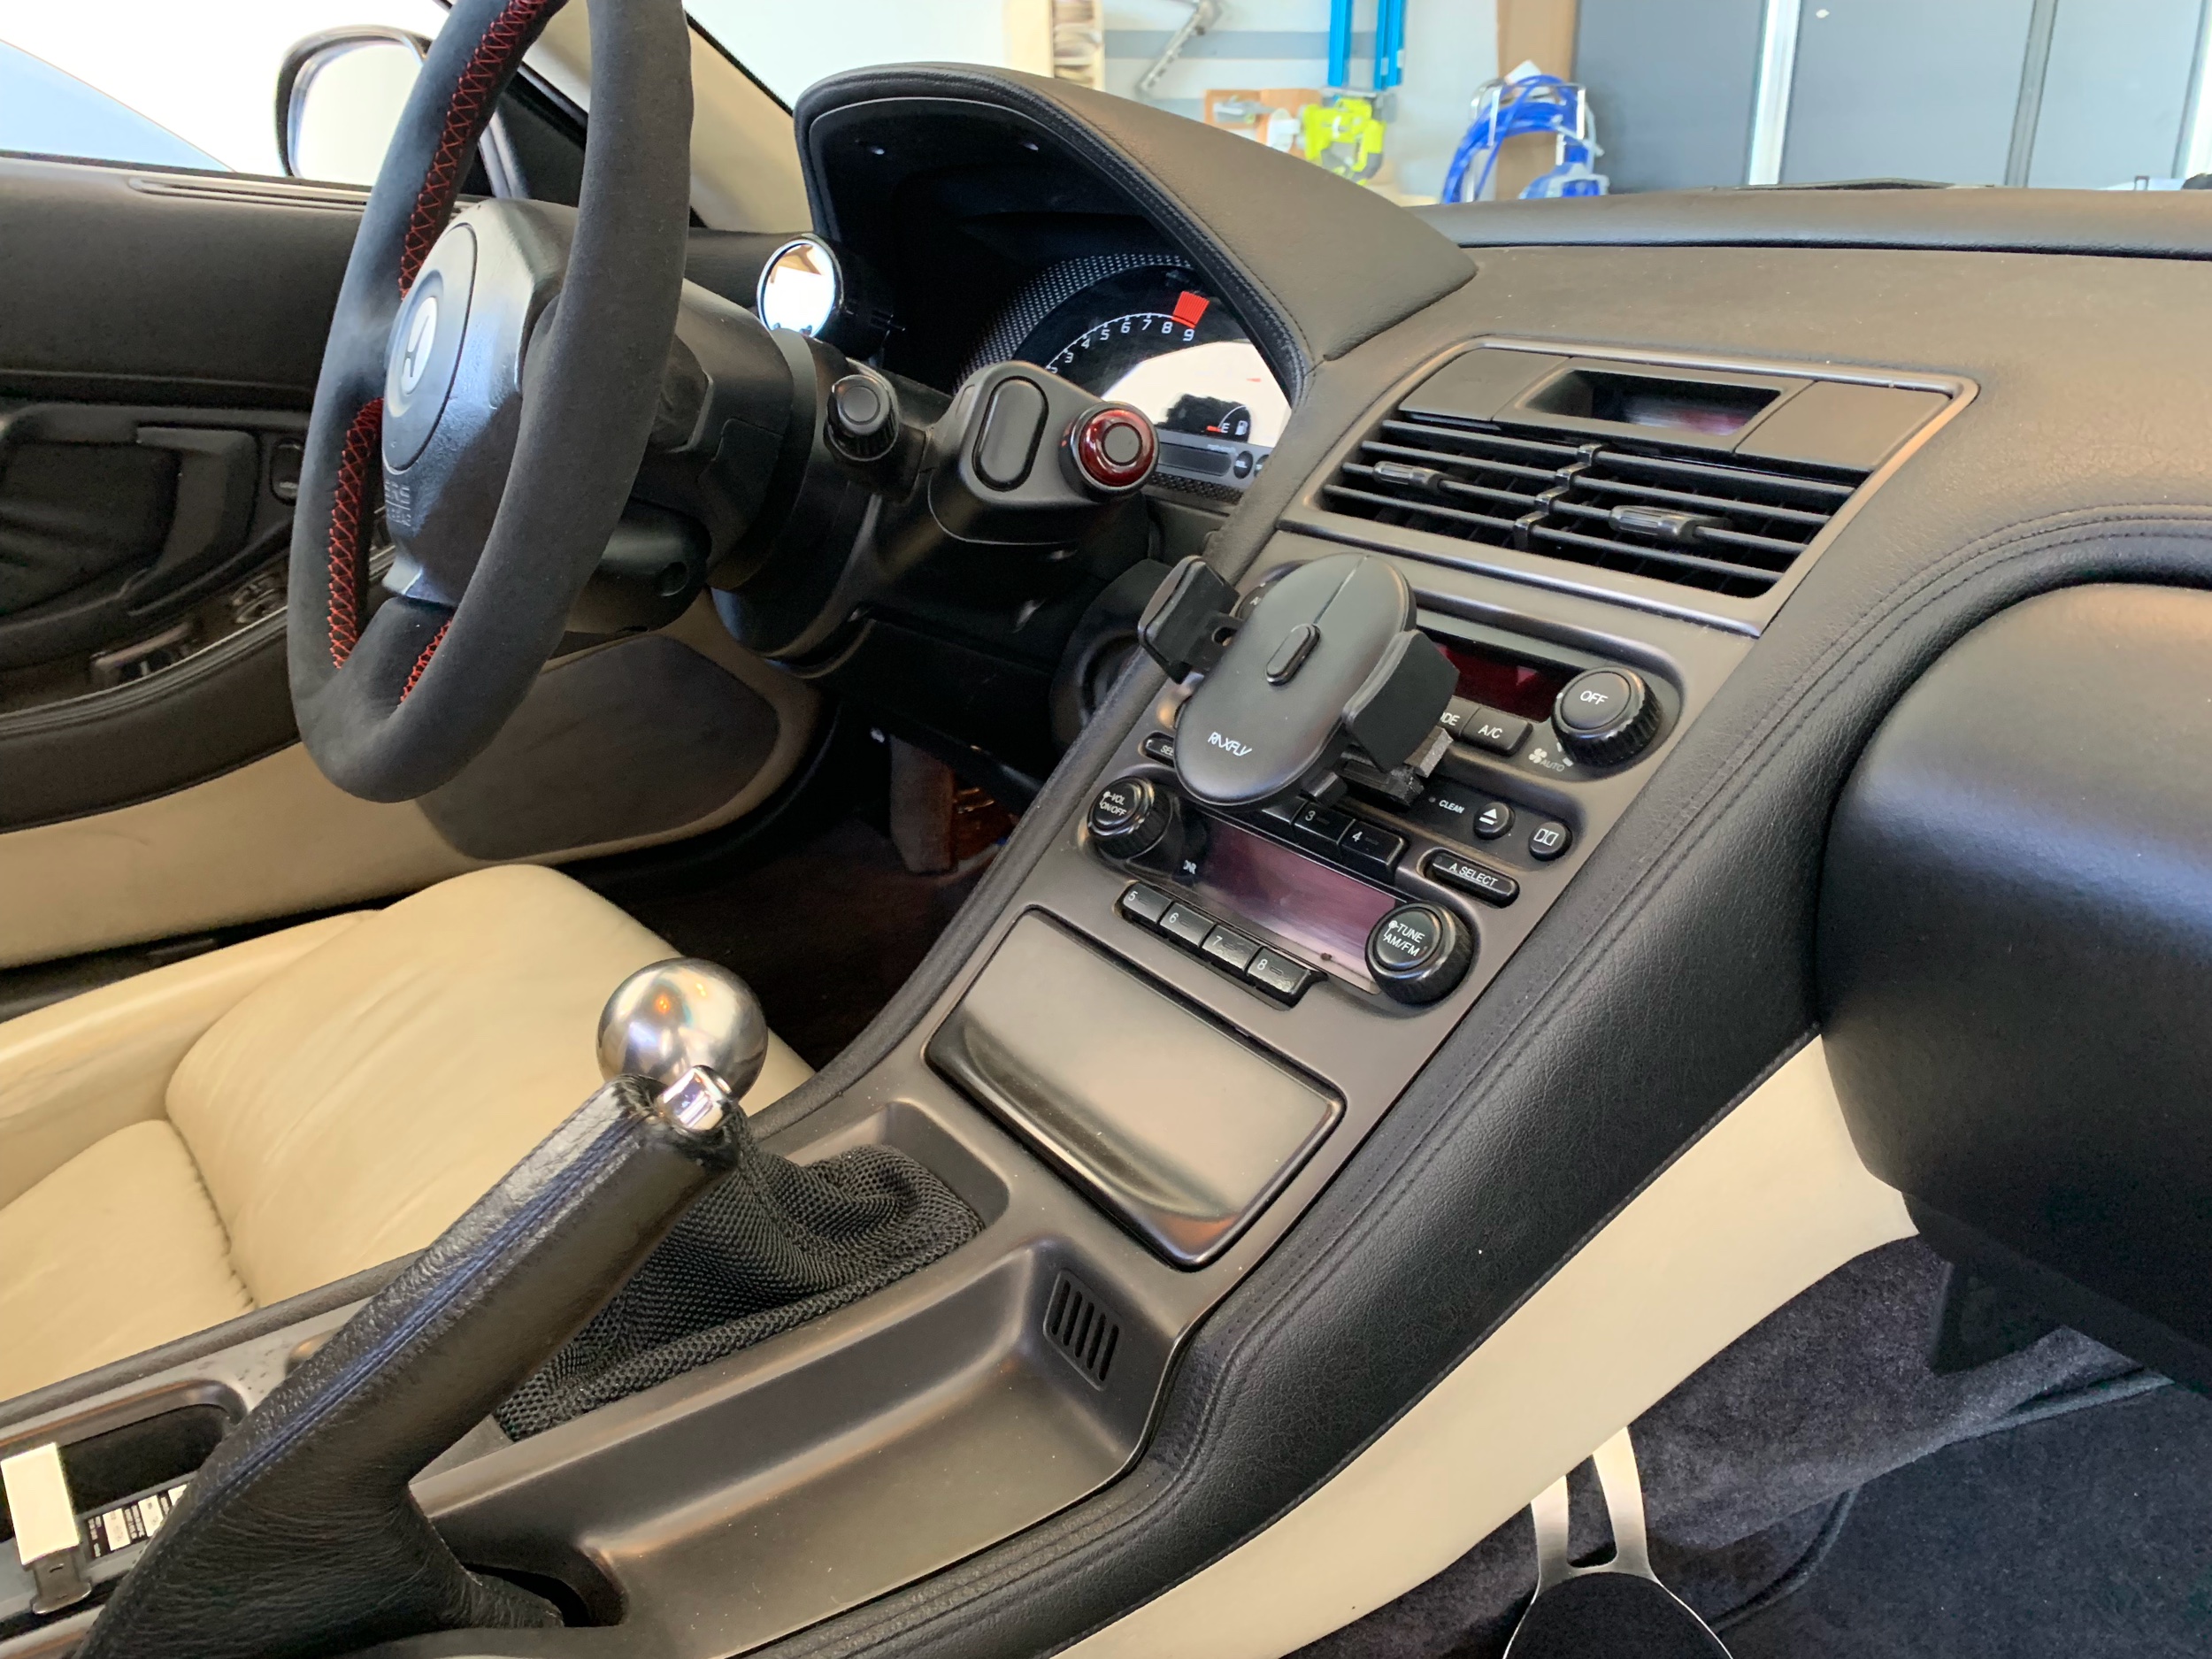
1991 NSX Interior with mount

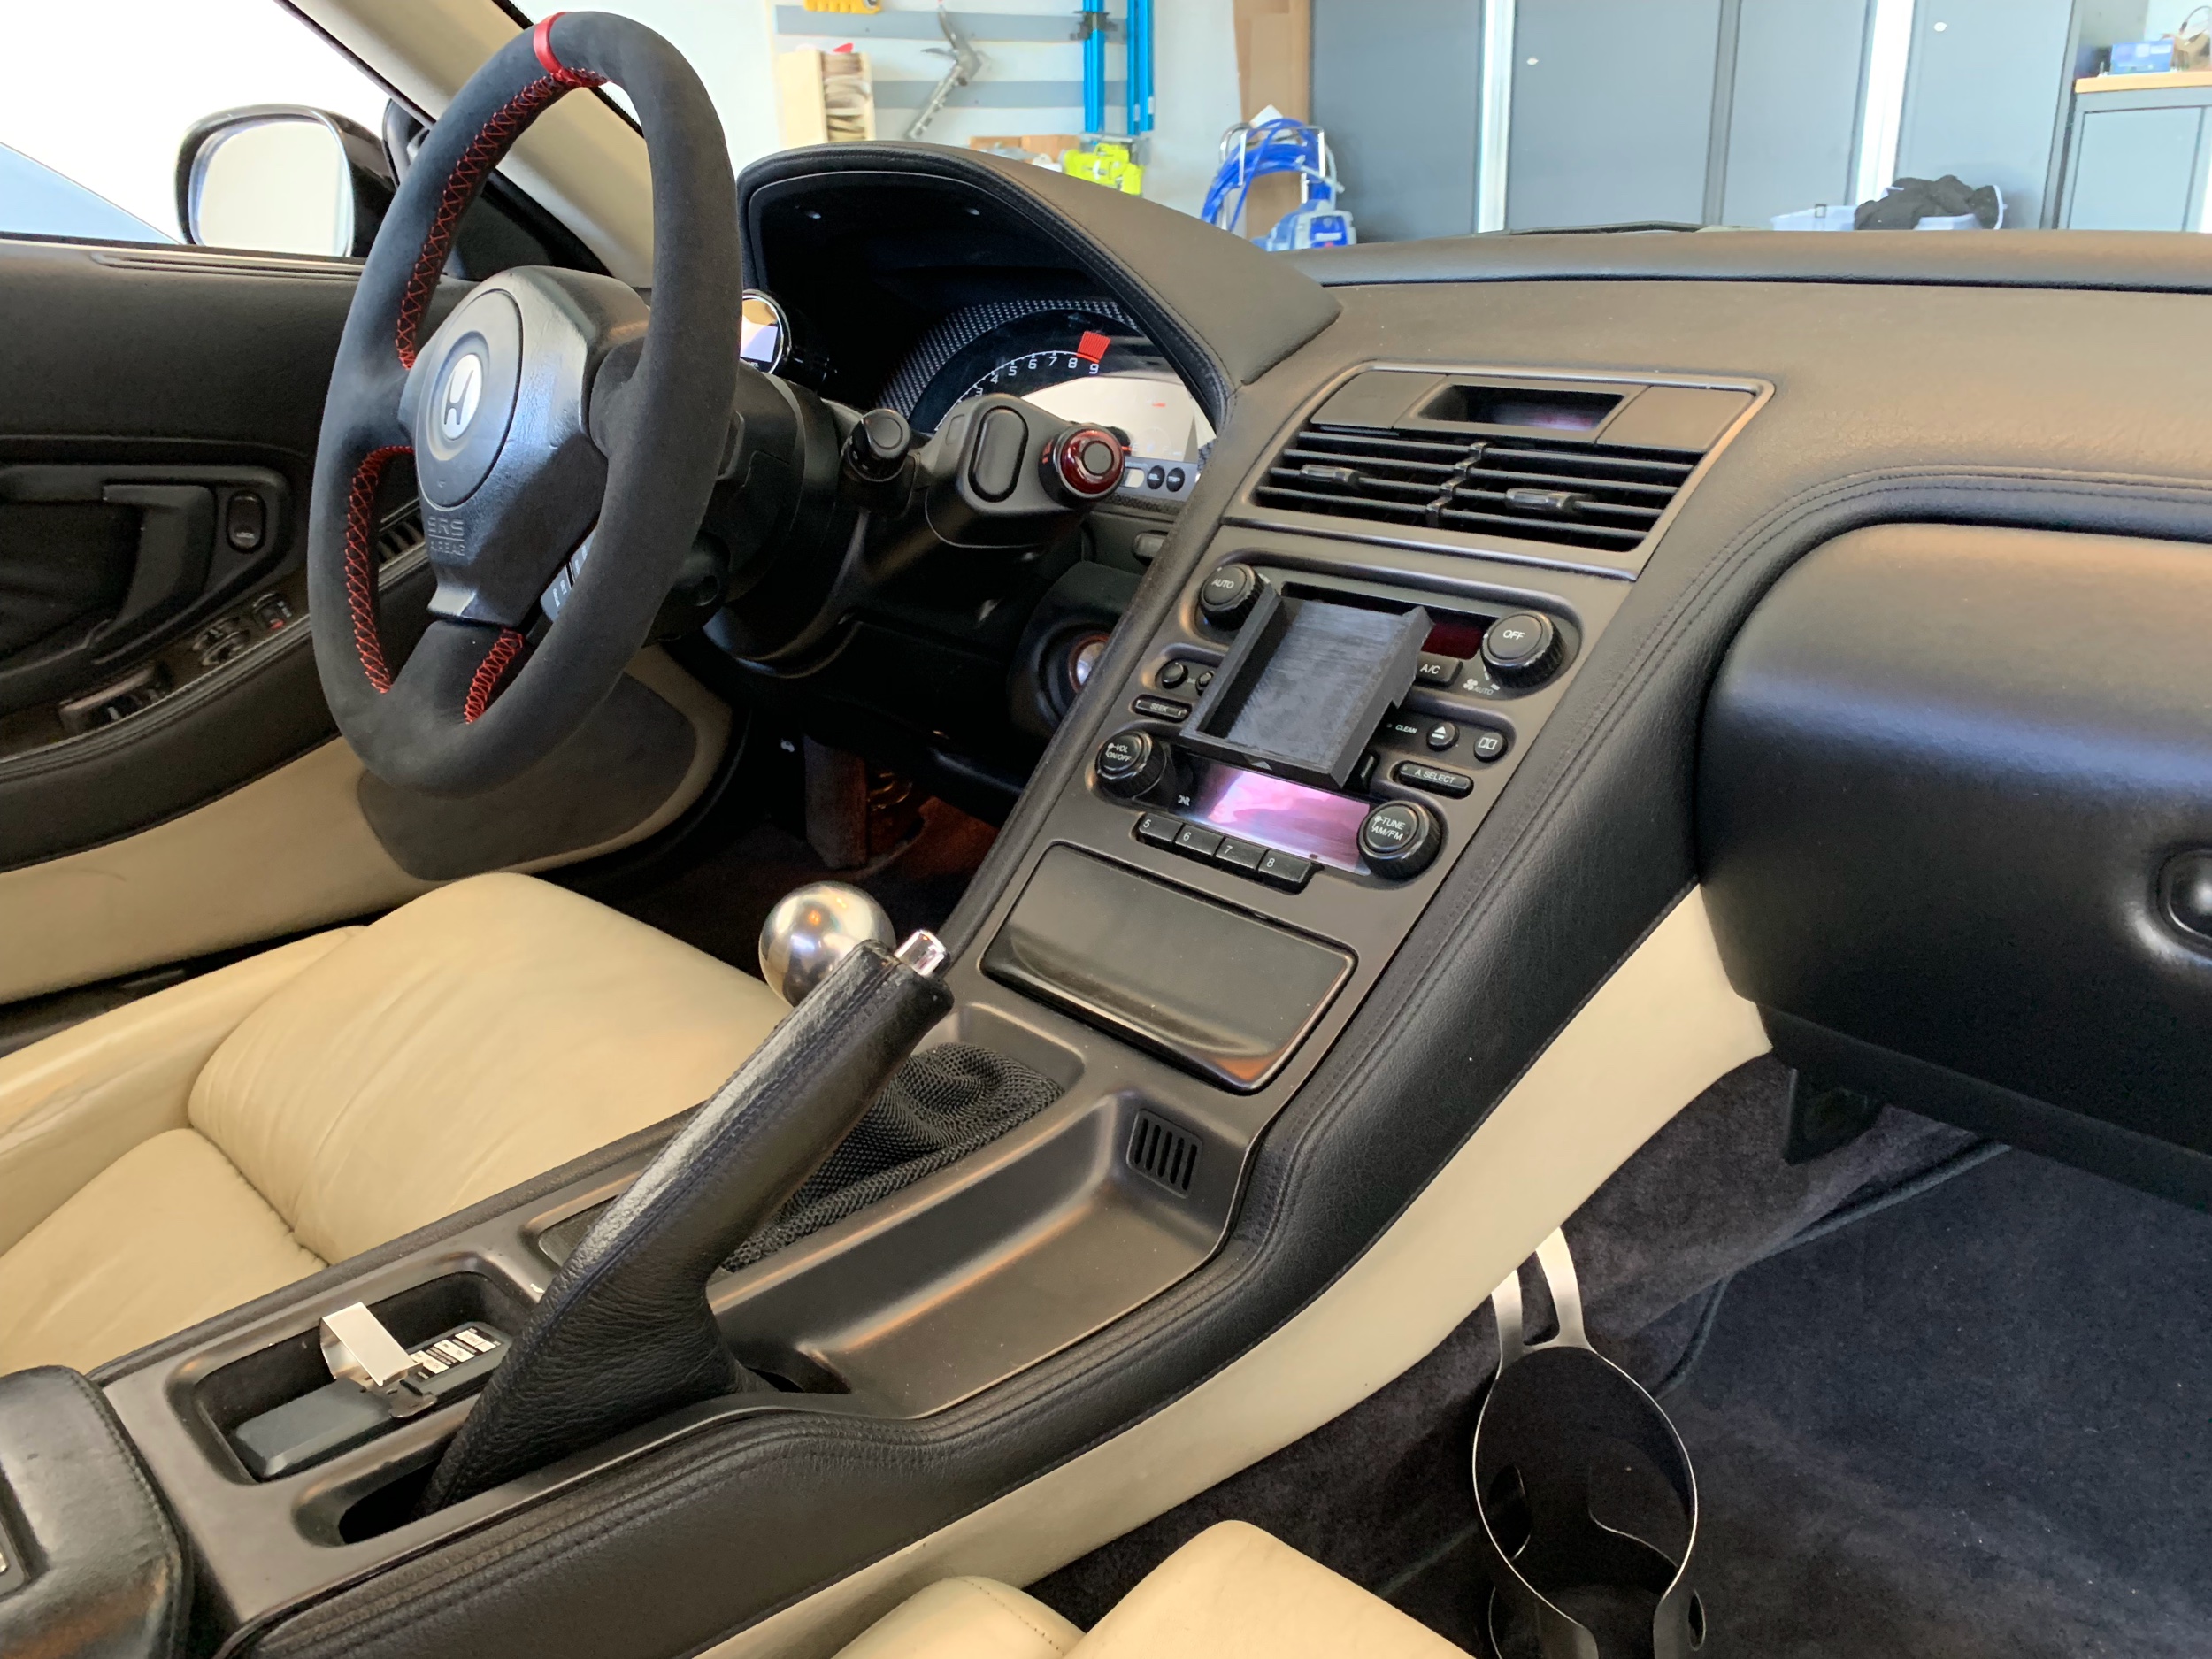
Cassette Mount

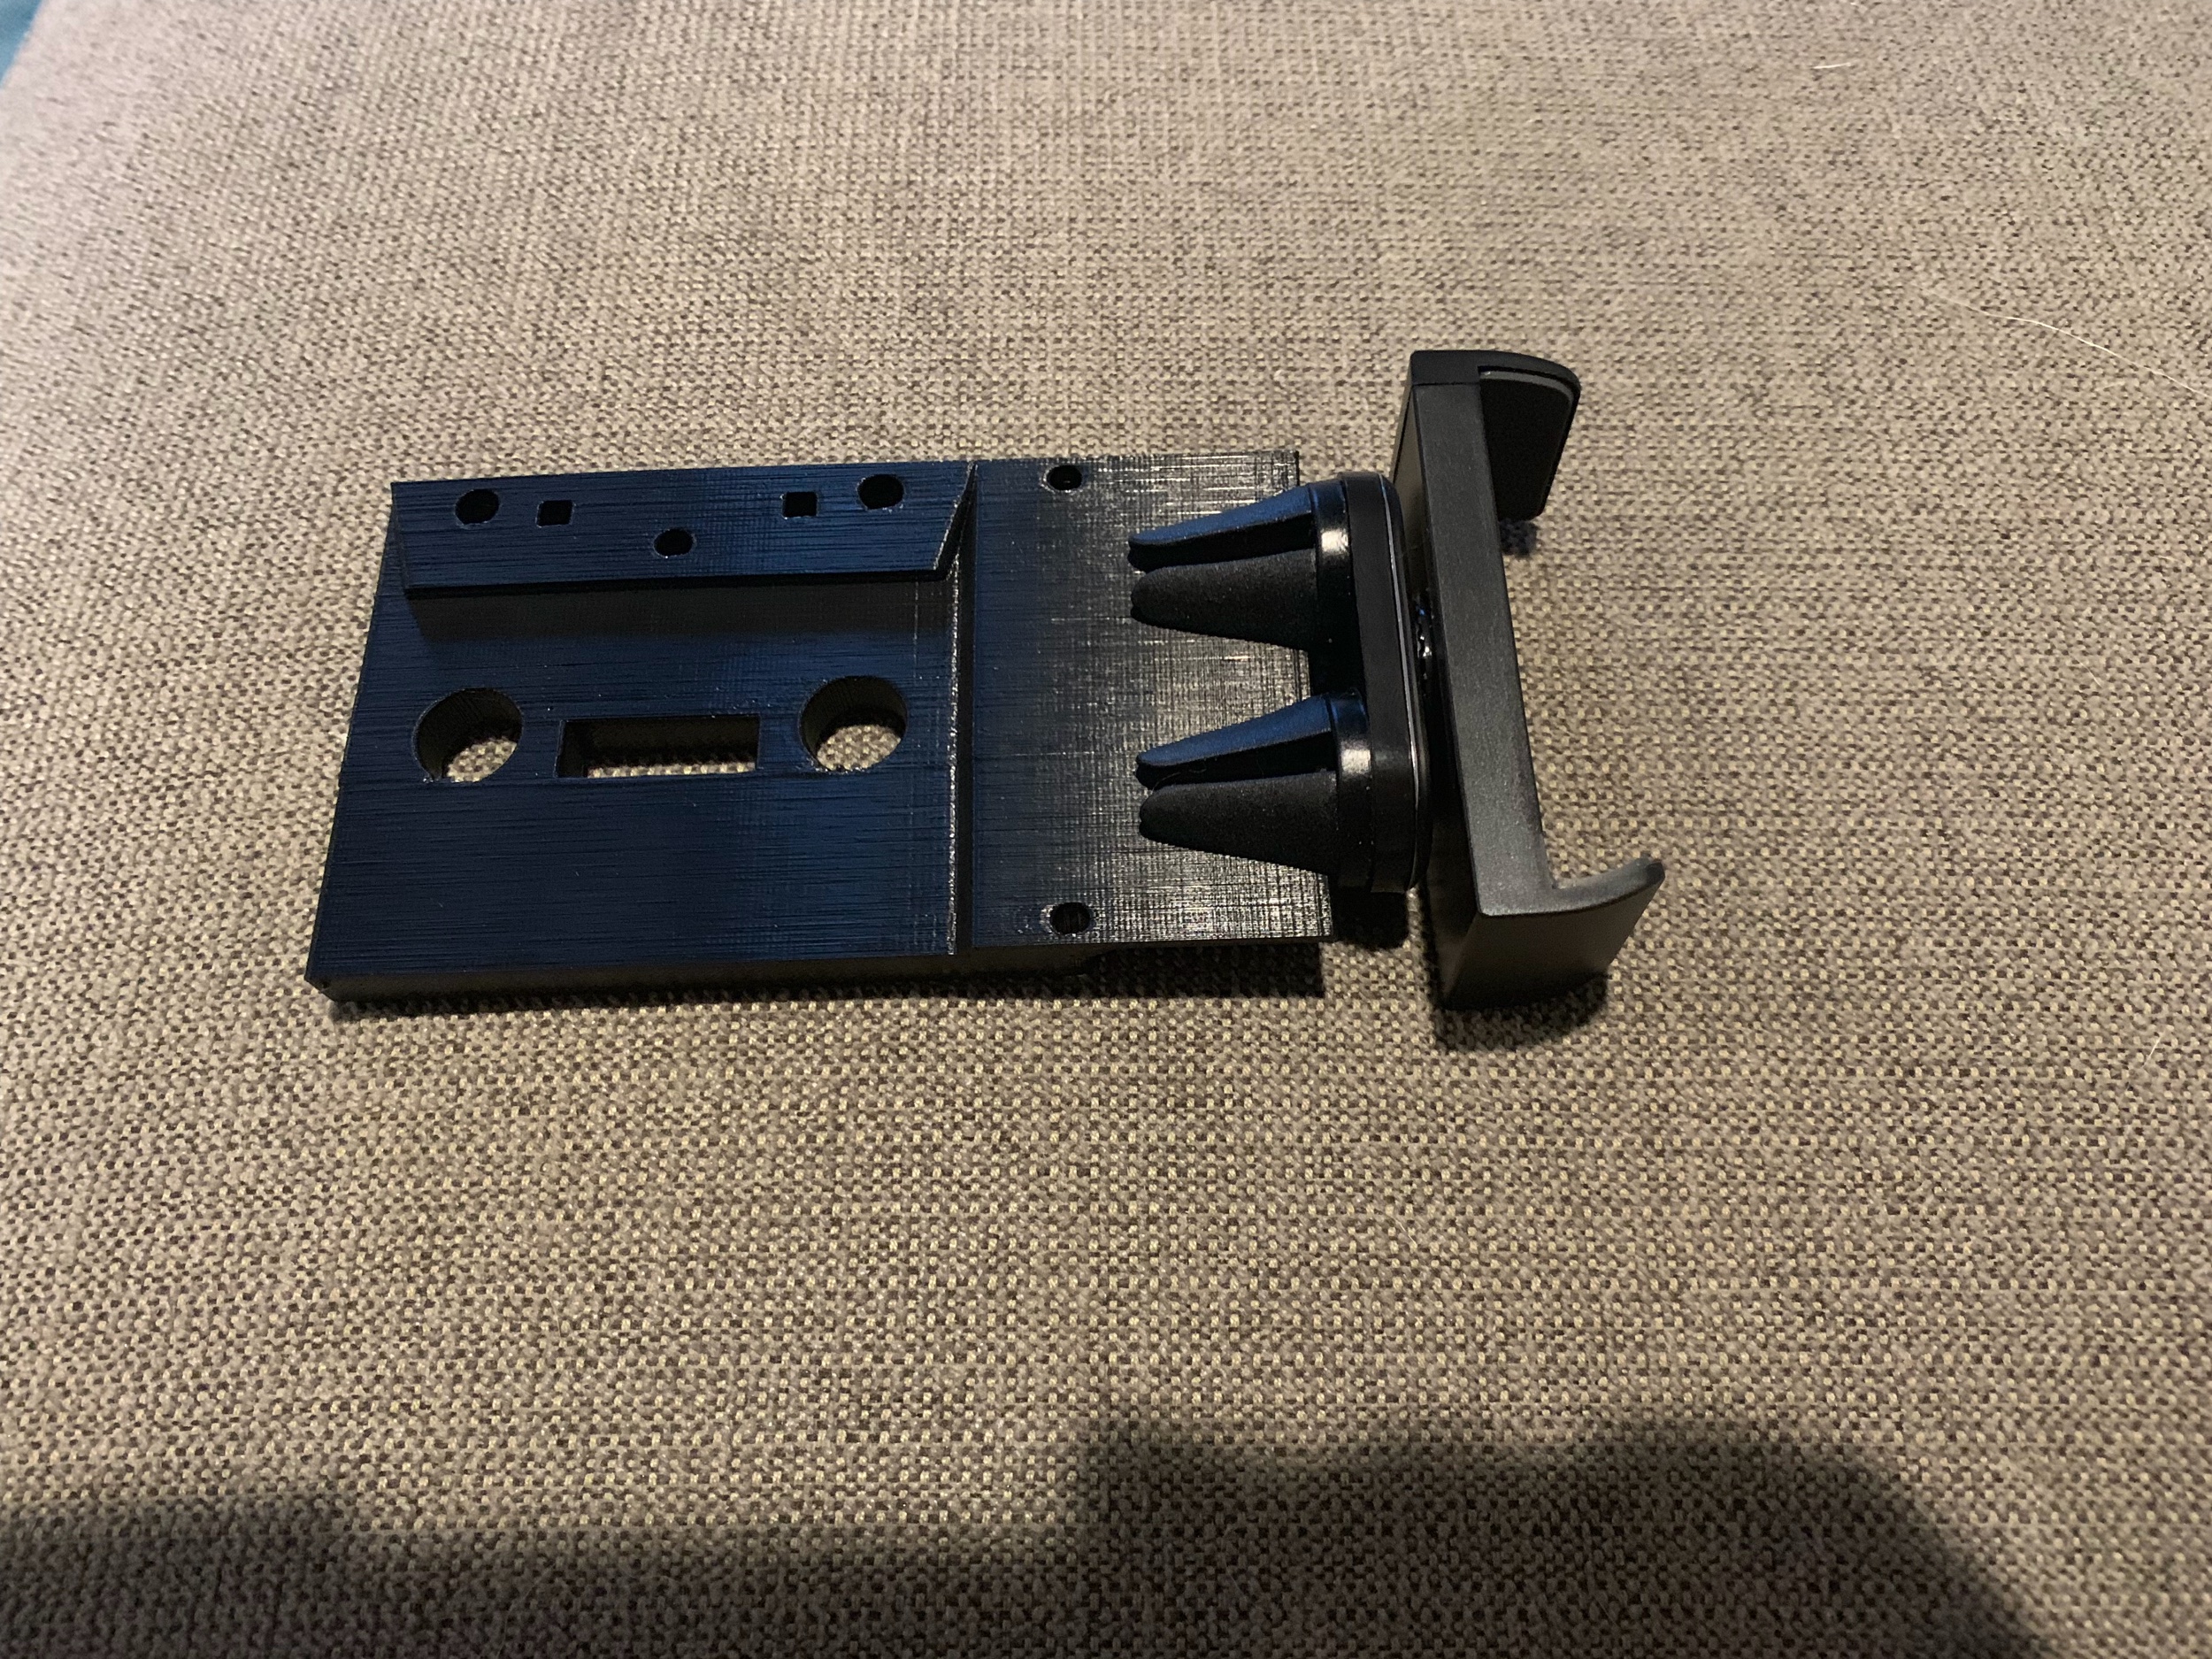
I designed a cassette mount. It’s universal, but was specifically designed for the NSX. I designed this using OnShape, and it was one of my first designs that I’ve created with intent to actually use. I think it came out pretty well. On the NSX, it doesn’t block the vents and the radio controls can still be accessed. It does block the AC controls, but that can’t be avoided due to how close all the controls are in the center console.

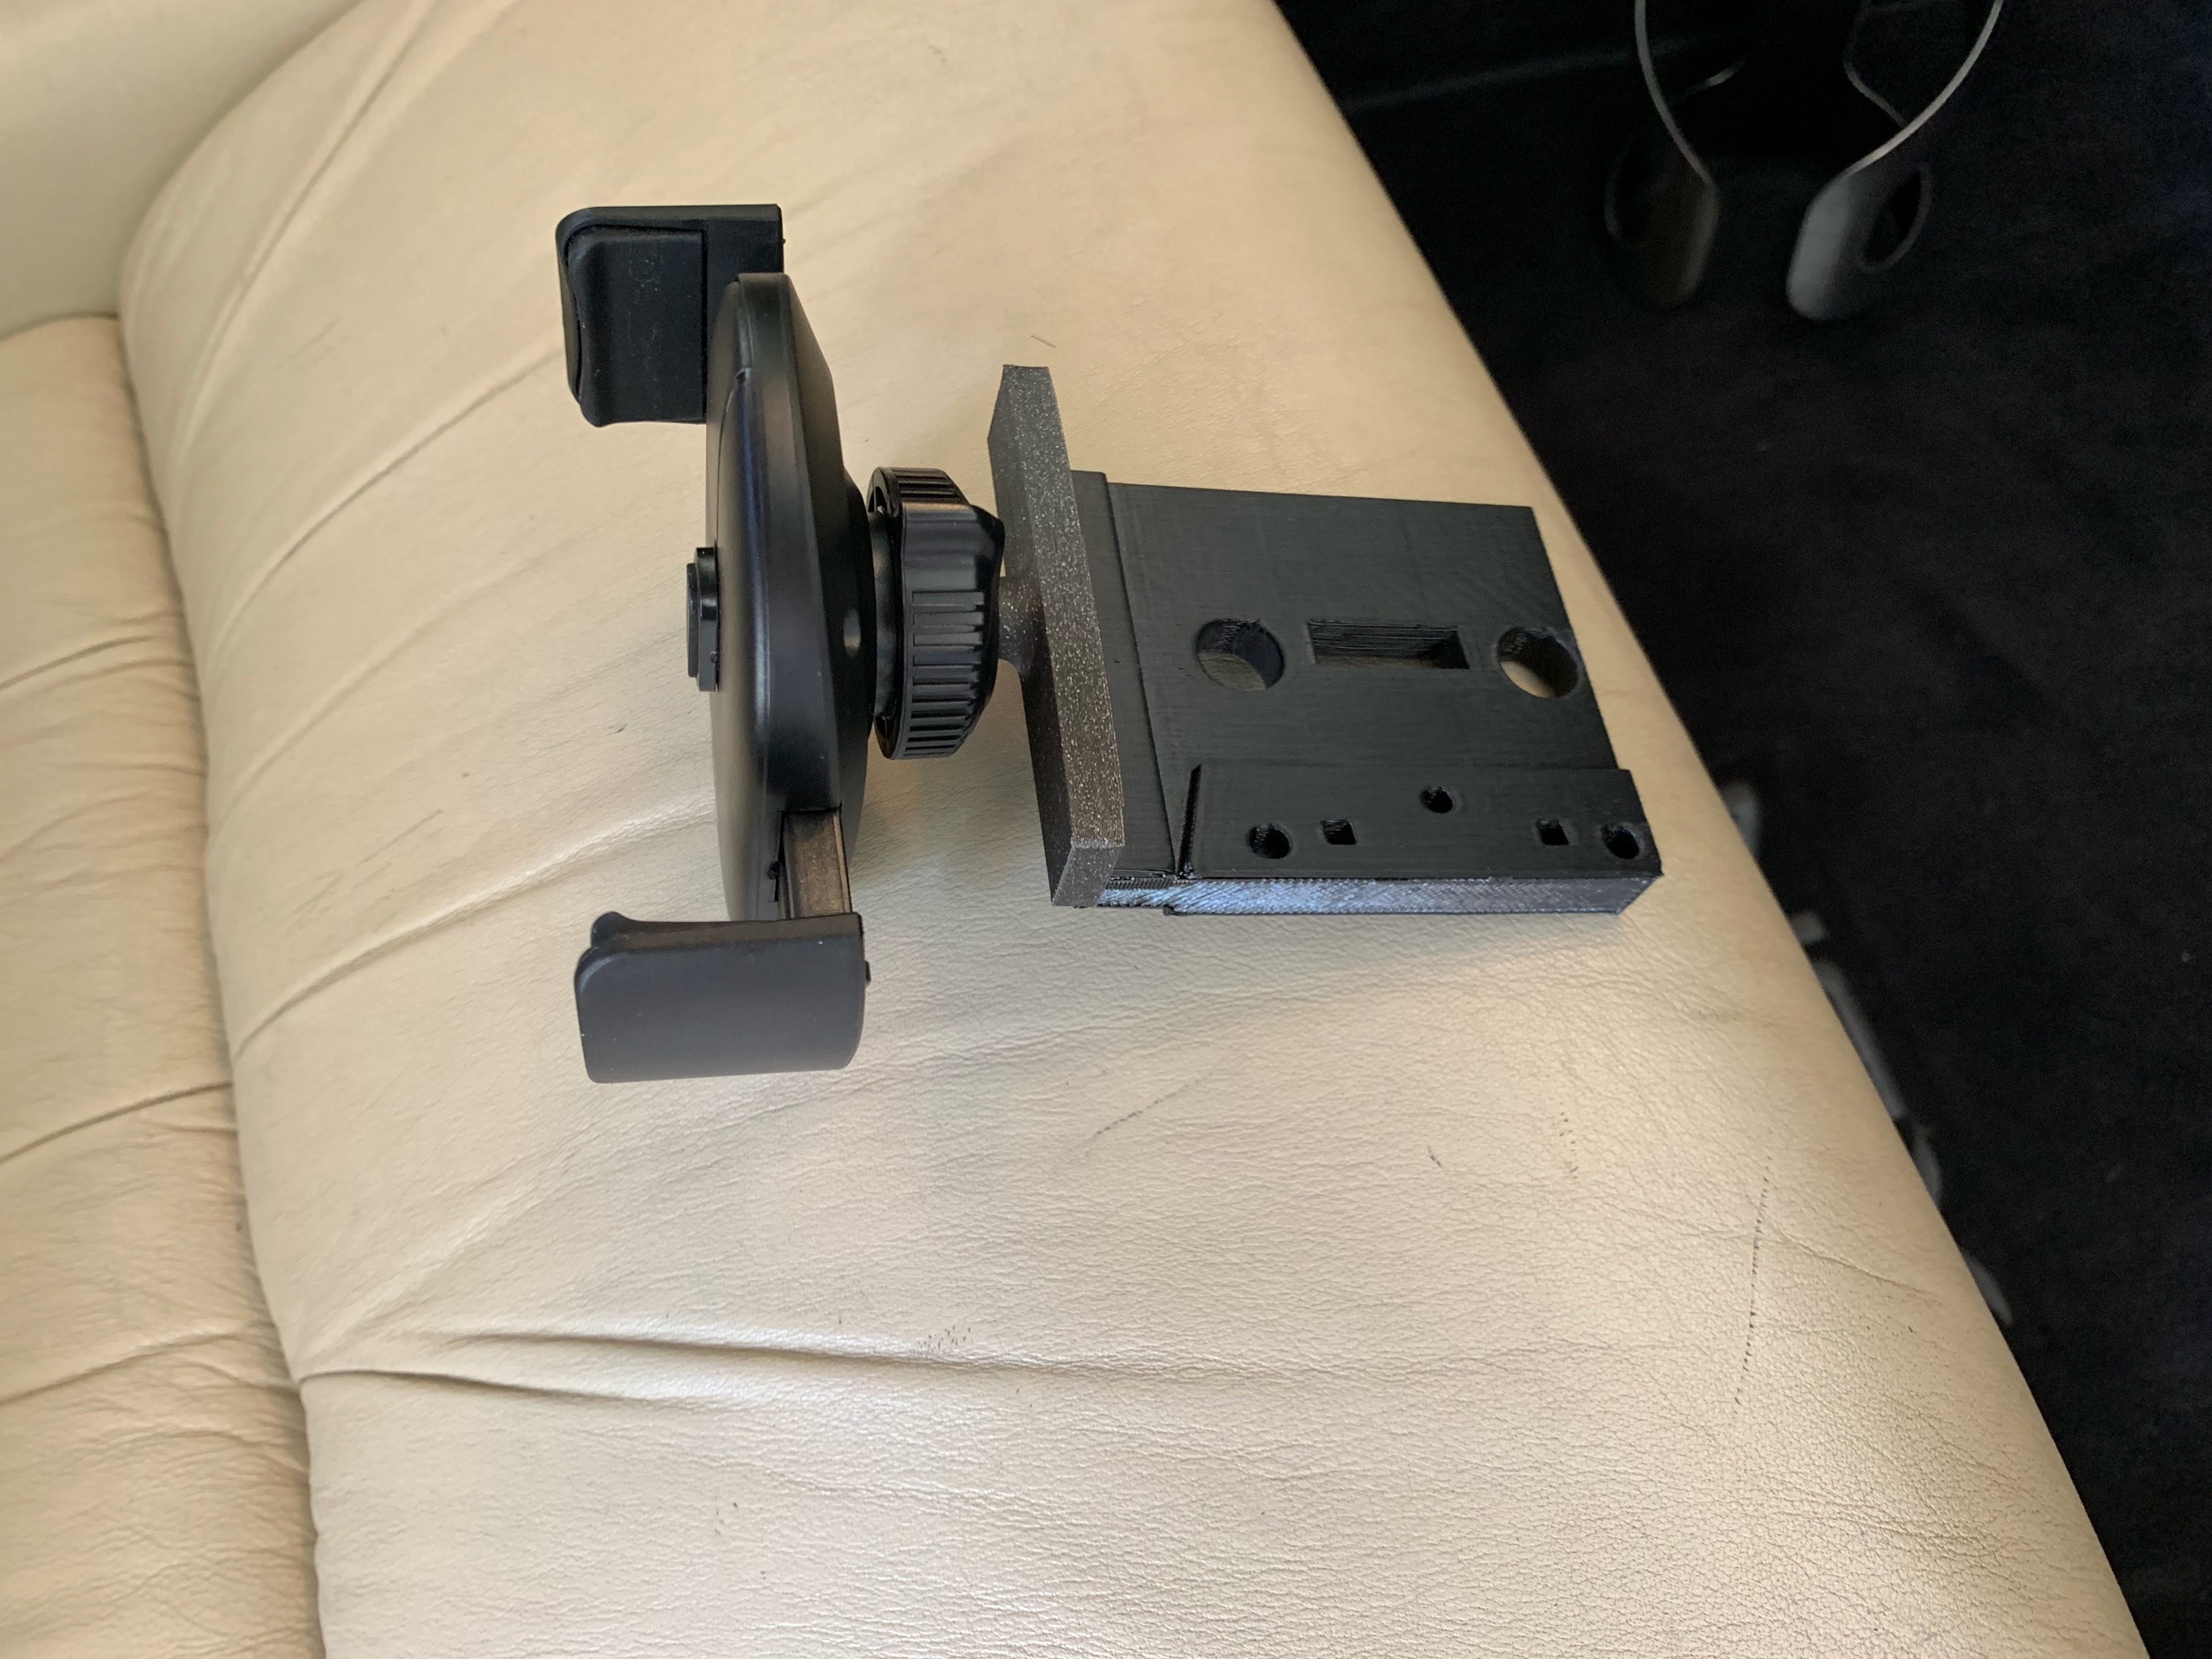
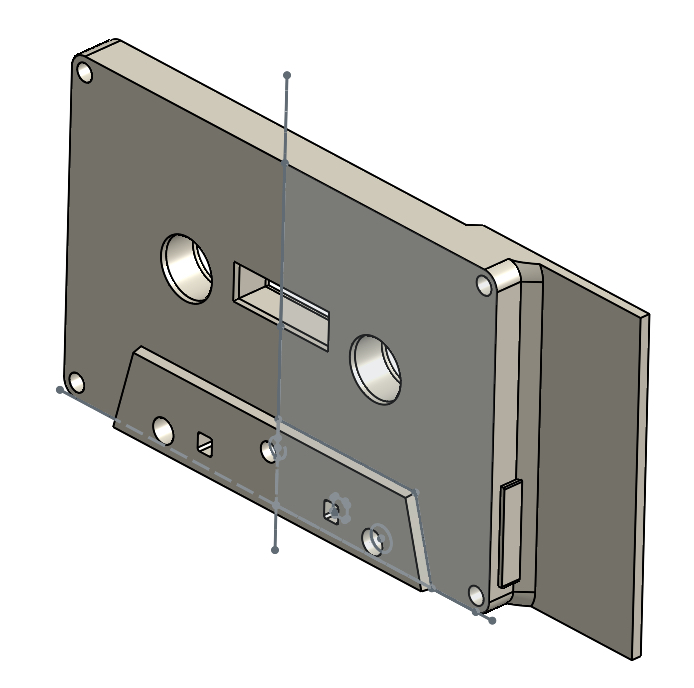
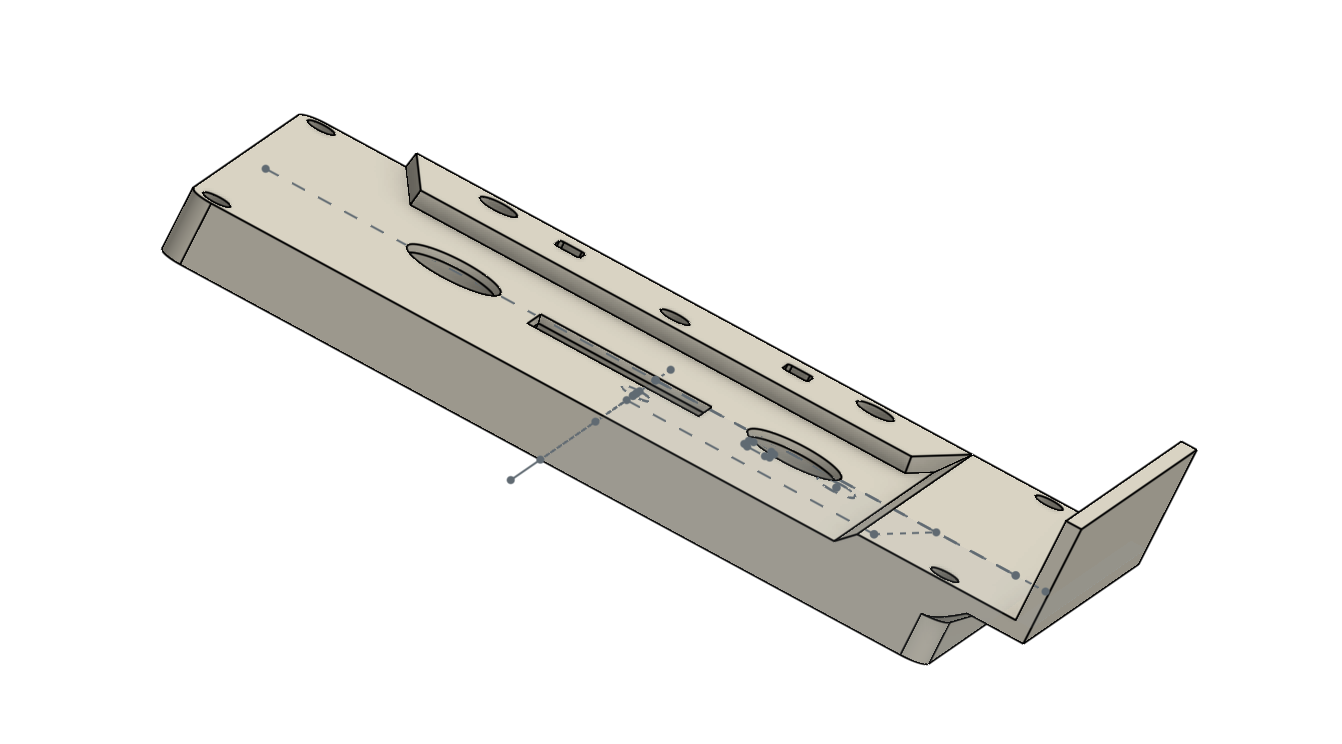
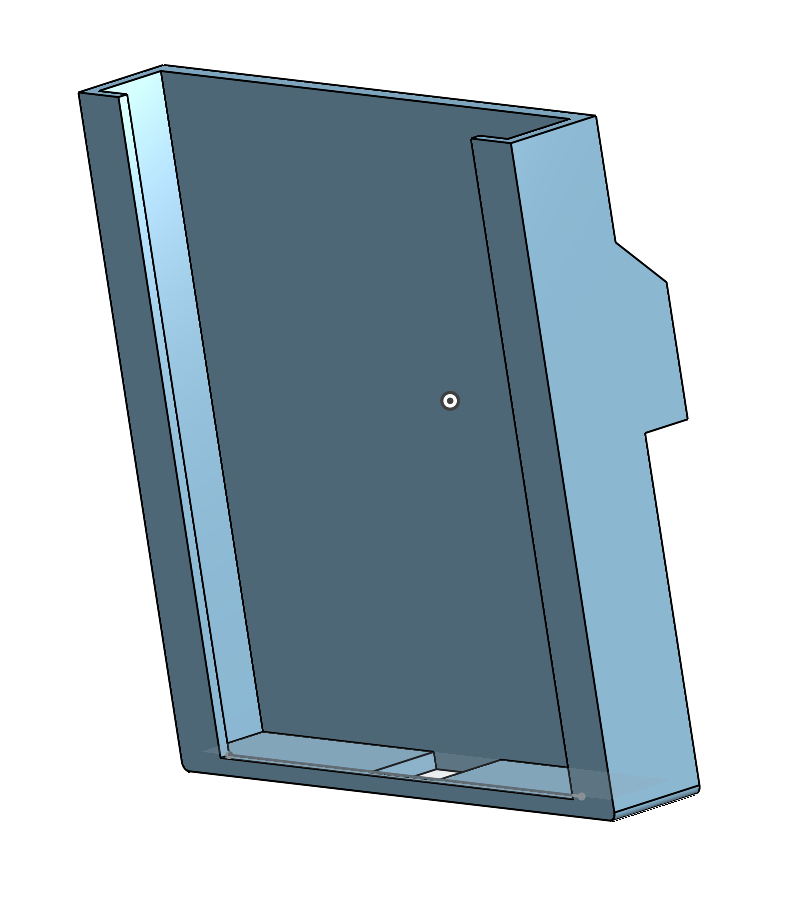
There are two pieces to print: a cassette mount and a phone adapter.

  • The cassette mount comes in with a straight surface or a 90 degree mounting surface. The straight surface can be used for vent mounts and the 90 degree edge can be used with a ball joint adapter or a printed mount.

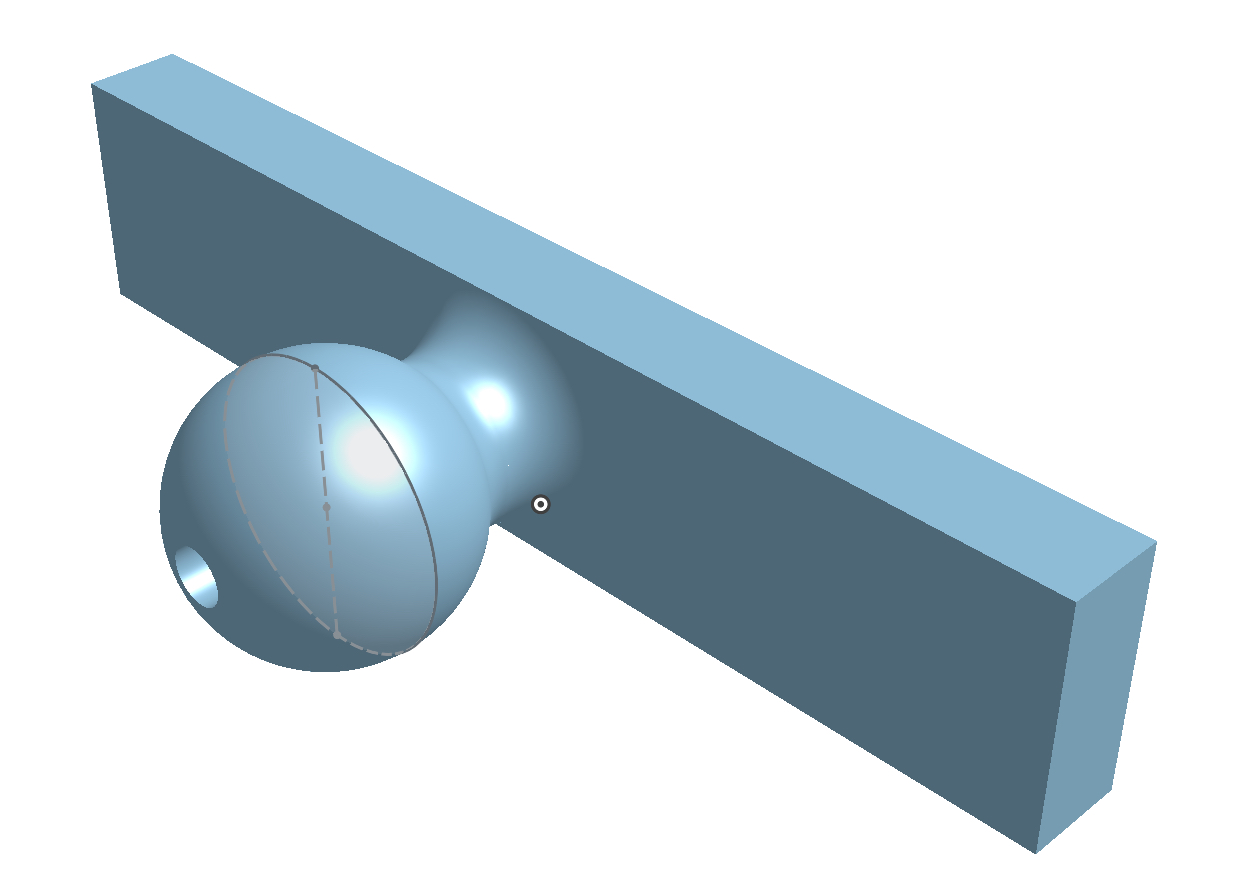
  • The phone mount, used with the 90 degree cassette mount, has a ball joint adapter that can be used with other universal mounts, or a fully printable holder.

Download and print

You’ll need to download a cassette mount, and depending on how you will mount your phone, an adapter. Click images to download files.

Print these out of PETG or ABS because they’ll be sitting in your car and you don’t want them to deform.